Multitasker
Titleist’s new mini driver will give you some options at the longer end of the bag
By Dee Tidwell | Photographs by E.J. CARR
FACE IT. Most amateurs don’t think of golf as a sport that requires fitness training. While the concept of golf fitness has had a direct impact on performance for guys and gals on the tours, I still don’t see it trickling down to the amateur golfer. Instead, I see amateurs gladly investing in the brands of clubs and balls used by their favorite pros without making the same kind of investment those pros make in their bodies.
The results are predictably frustrating, and it’s not just because amateurs nurture grandiose delusions about their ability or don’t work out enough. Having trained both professional and amateur golfers for more than 20 years, I can give you four main reasons why many amateurs struggle to improve.
1. TOUR PLAYERS TRAIN WITH INTENT AND STRUCTURE—AND YOU DON’T.
If you’re like most golfers, you don’t exercise consistently—or purposefully—enough to make changes in your game. You may “exercise” to check it off the health list or even to make yourself feel better, lose weight, etc., but do you have a specifically created plan to address the physical issues that may affect your day-to-day life— including golf?
Twenty-five of the top 30 PGA TOUR players have a TPI fitness professional who works closely with his teaching professional and medical staff to create a customized fitness plan to optimize performance. Having trained two Tour winners, I can tell you that the simpler I can make it for a player, the better. If an athlete can get up and look at the training schedule and know what to do, it helps with consistency, growth, progress and confidence. He or she also knows “why” they are doing what they’re doing in the training program because I’ve explained it. This provides a strong motivator to action.
Do you need that? The answer is yes. I suggest finding your closest TPI-certified professional to help begin the process of getting a program designed to identify exactly what your body needs and learn why issues such as tightness, weakness and immobility are affecting your golf swing.
Should you elect to design your own program, be sure to always include these crucial primal movements:
2. TOUR PLAYERS AREN’T AS TIGHT AS YOU PROBABLY ARE.
Flexibility is probably the top physical issue separating the professionals from the average golfers—a difference that was compounded during the lockdown by issues such as “texting neck,” “computer posture” and “pandemic pounds” becoming their own mini-epidemic.
When tightness acts as kryptonite to consistency, handicap reduction, decreased distance and difficulty of performing what a golf pro may be trying to teach you, it’s simply difficult for most people to make any progress.
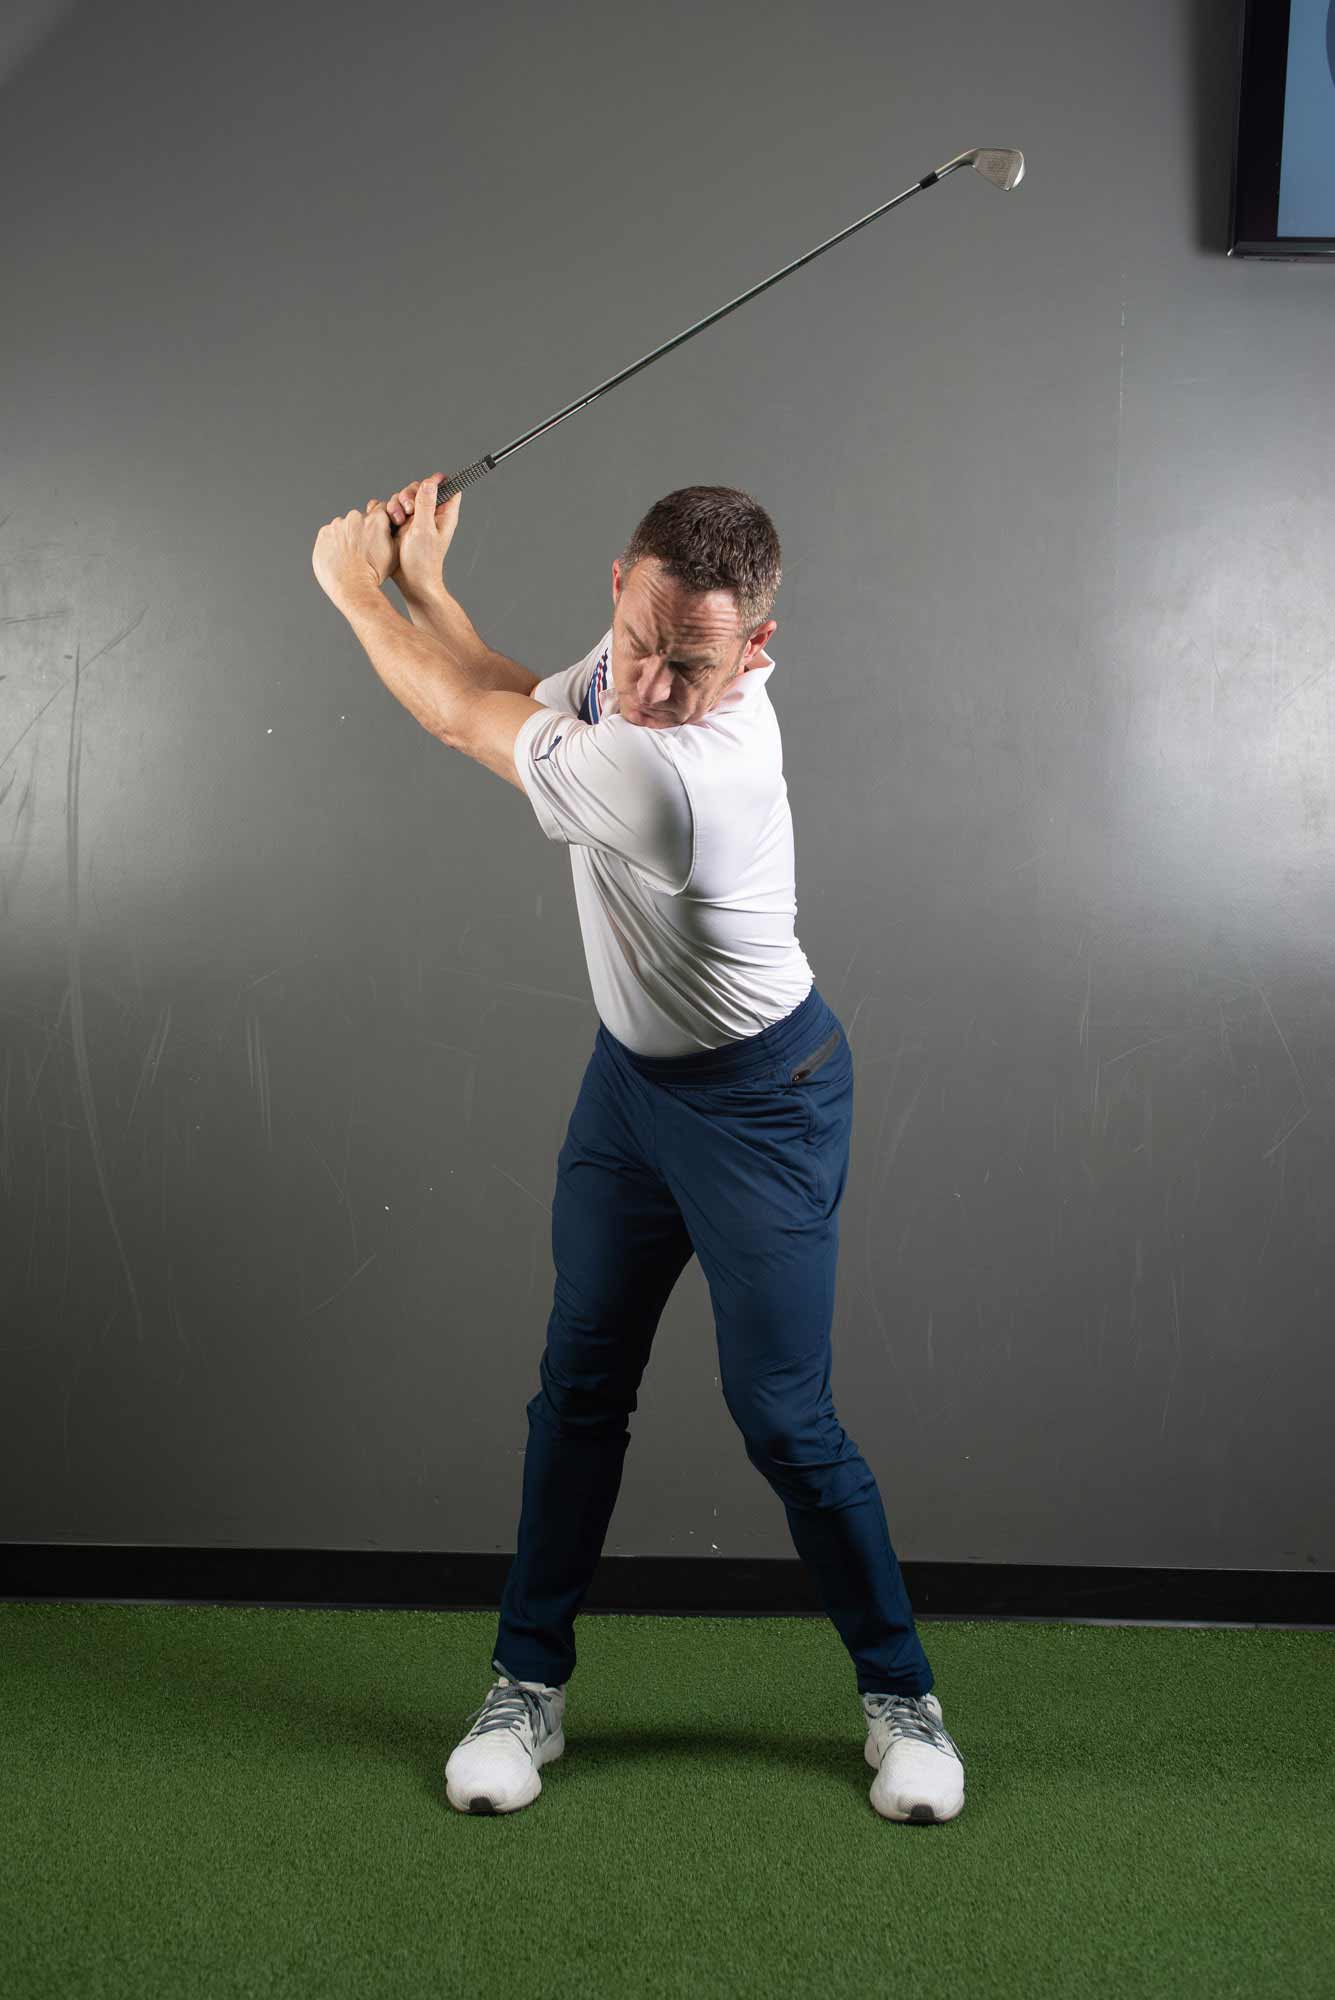
3. PROFESSIONALS HAVE A MORE CONSISTENT BACKSWING THAN YOU DO.
The golf swing is not a one-size-fits-all proposition. How you’re built, what sports you played growing up and your present athleticism will create your swing mechanics. Whether you’re comparing Rahm to DJ or Justin to Jack, one thing they all have is a consistent backswing move. However, most average golfers don’t know how to move their body in a correct biomechanical backswing.
Why the backswing? Well, remember that the backswing is an upper-body move and the downswing is a lower-body move. You want to be able to create a repeatable backswing rotational move to set up a repeatable downswing rotational move.
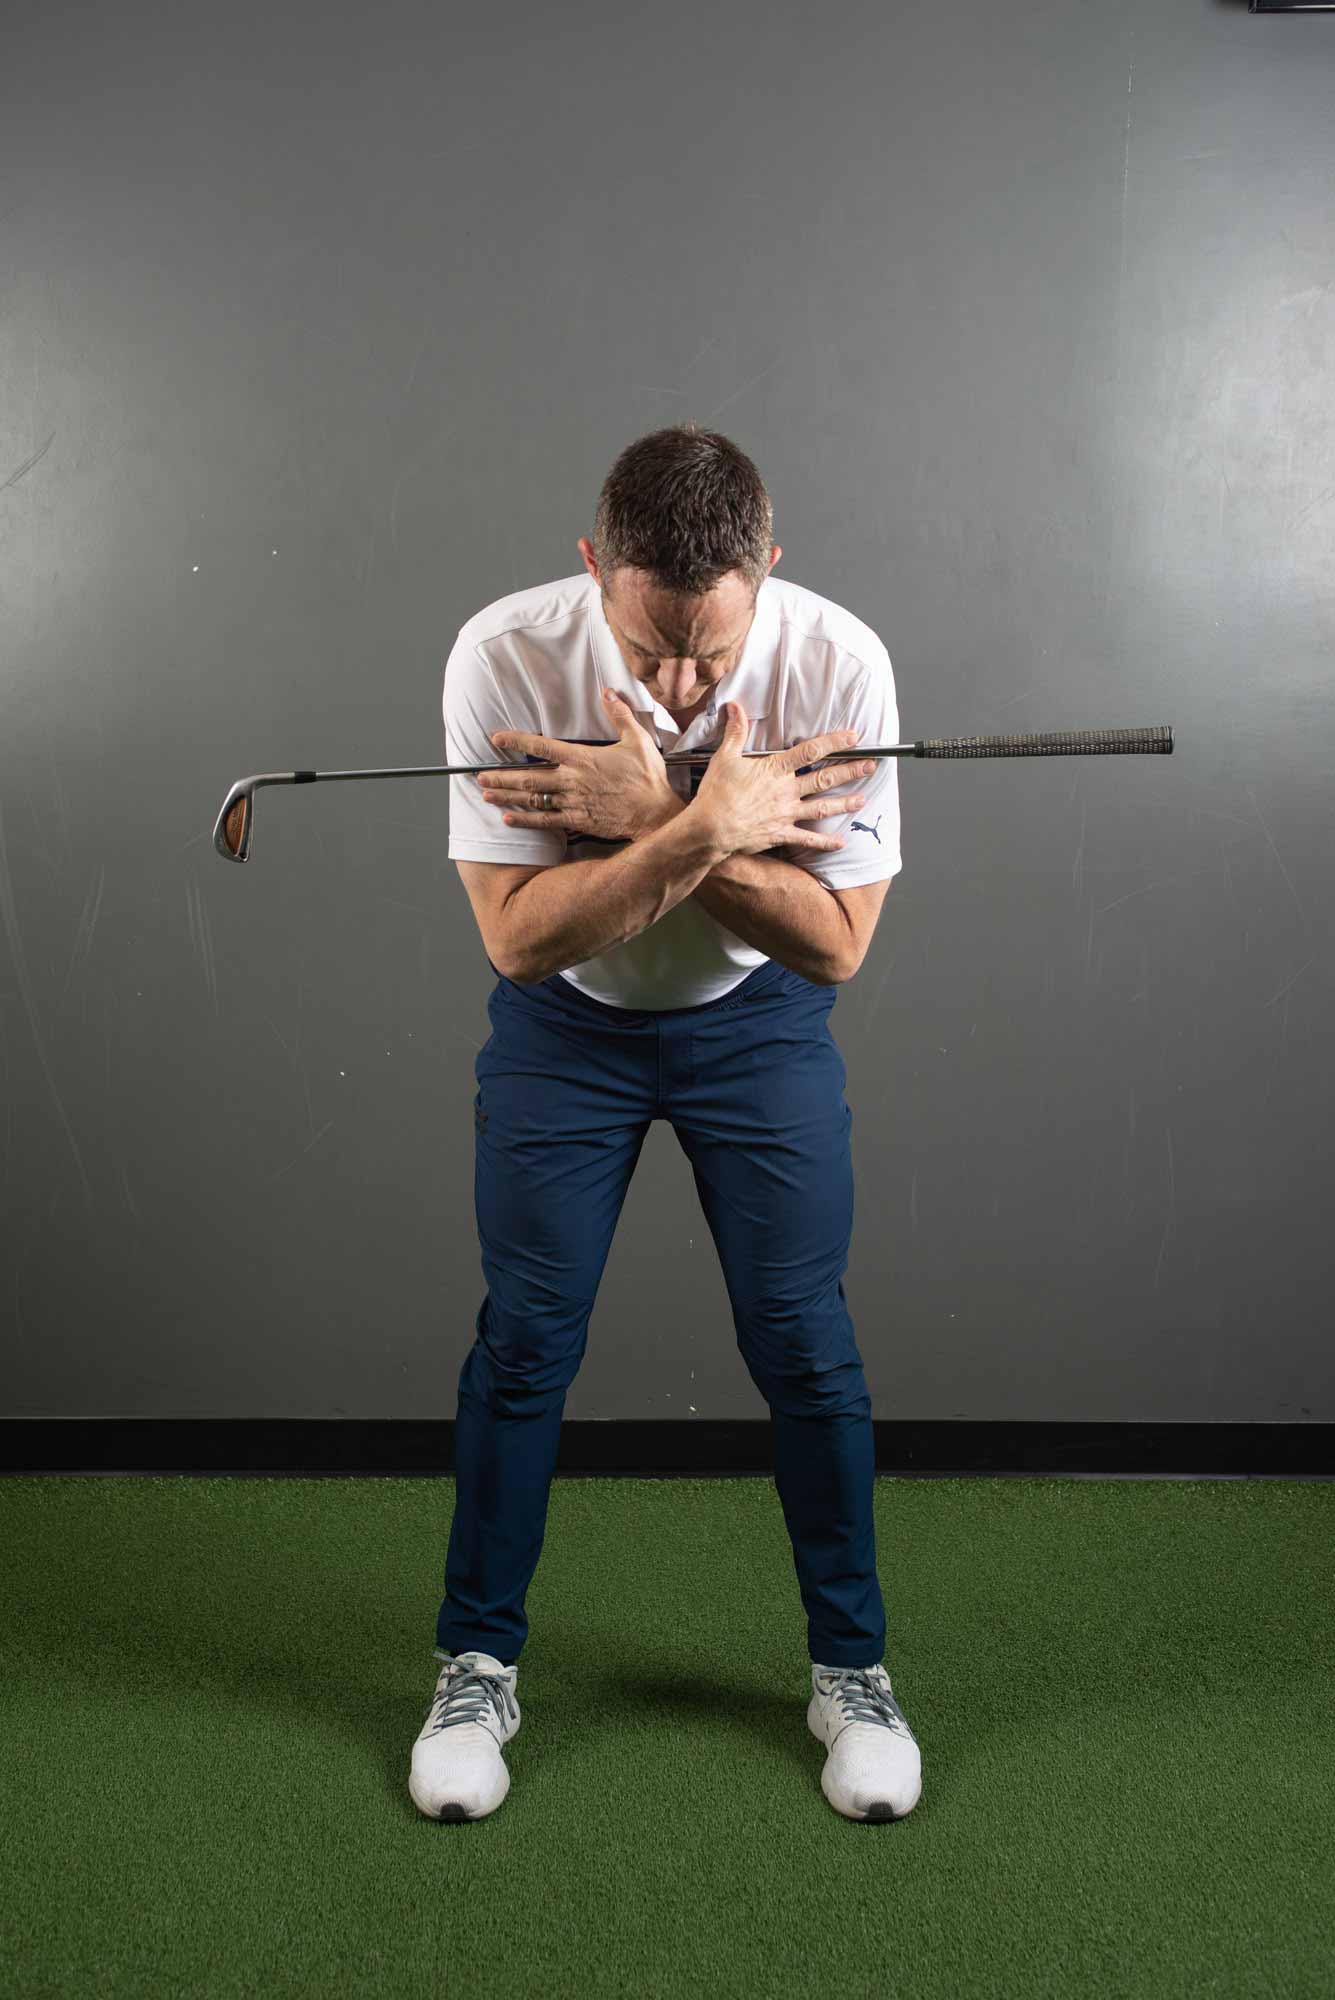
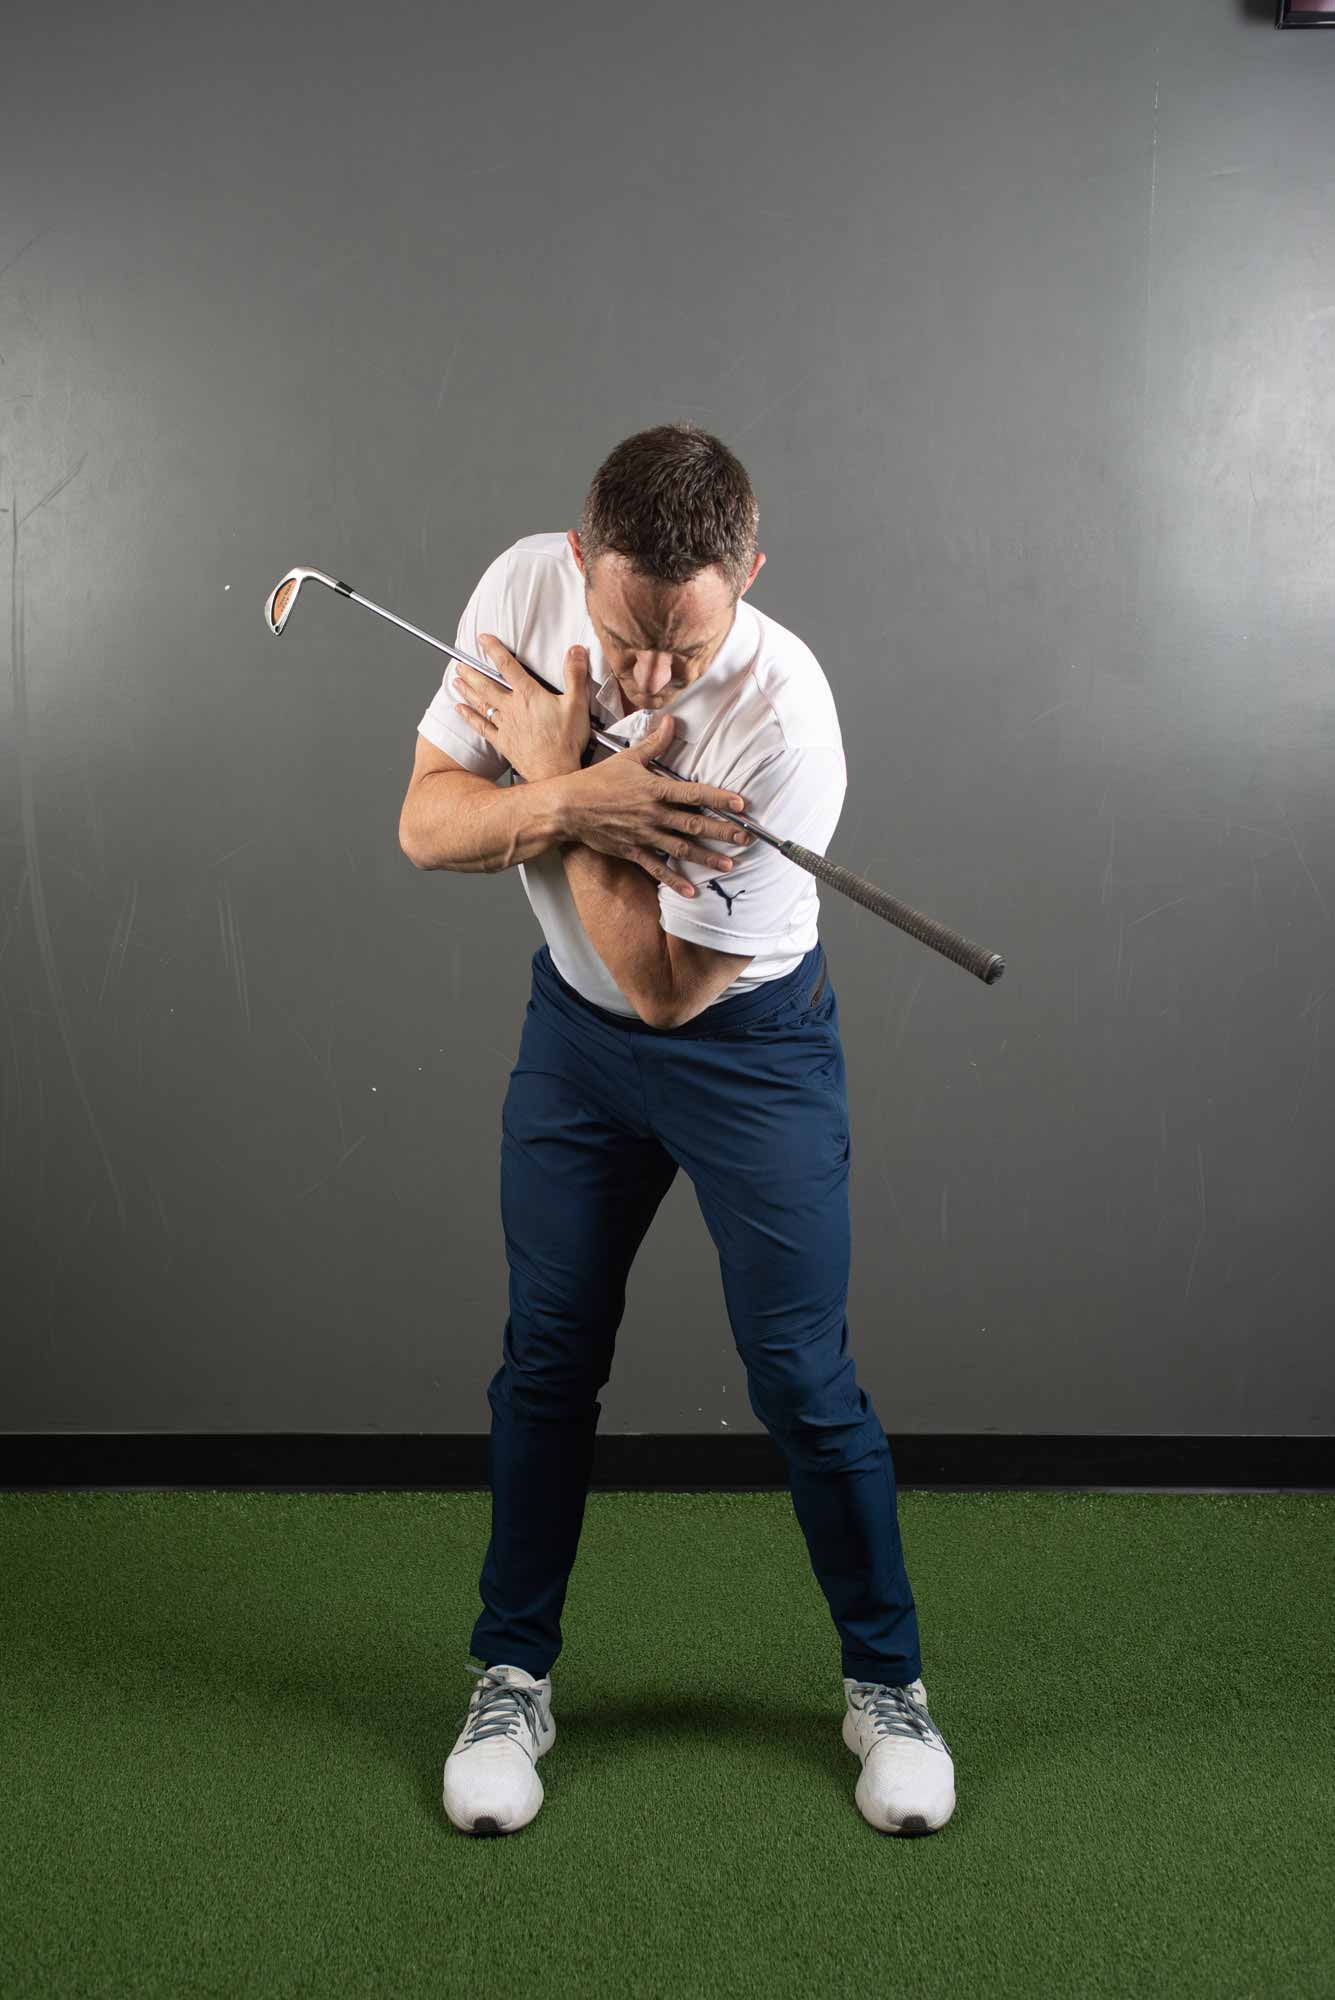
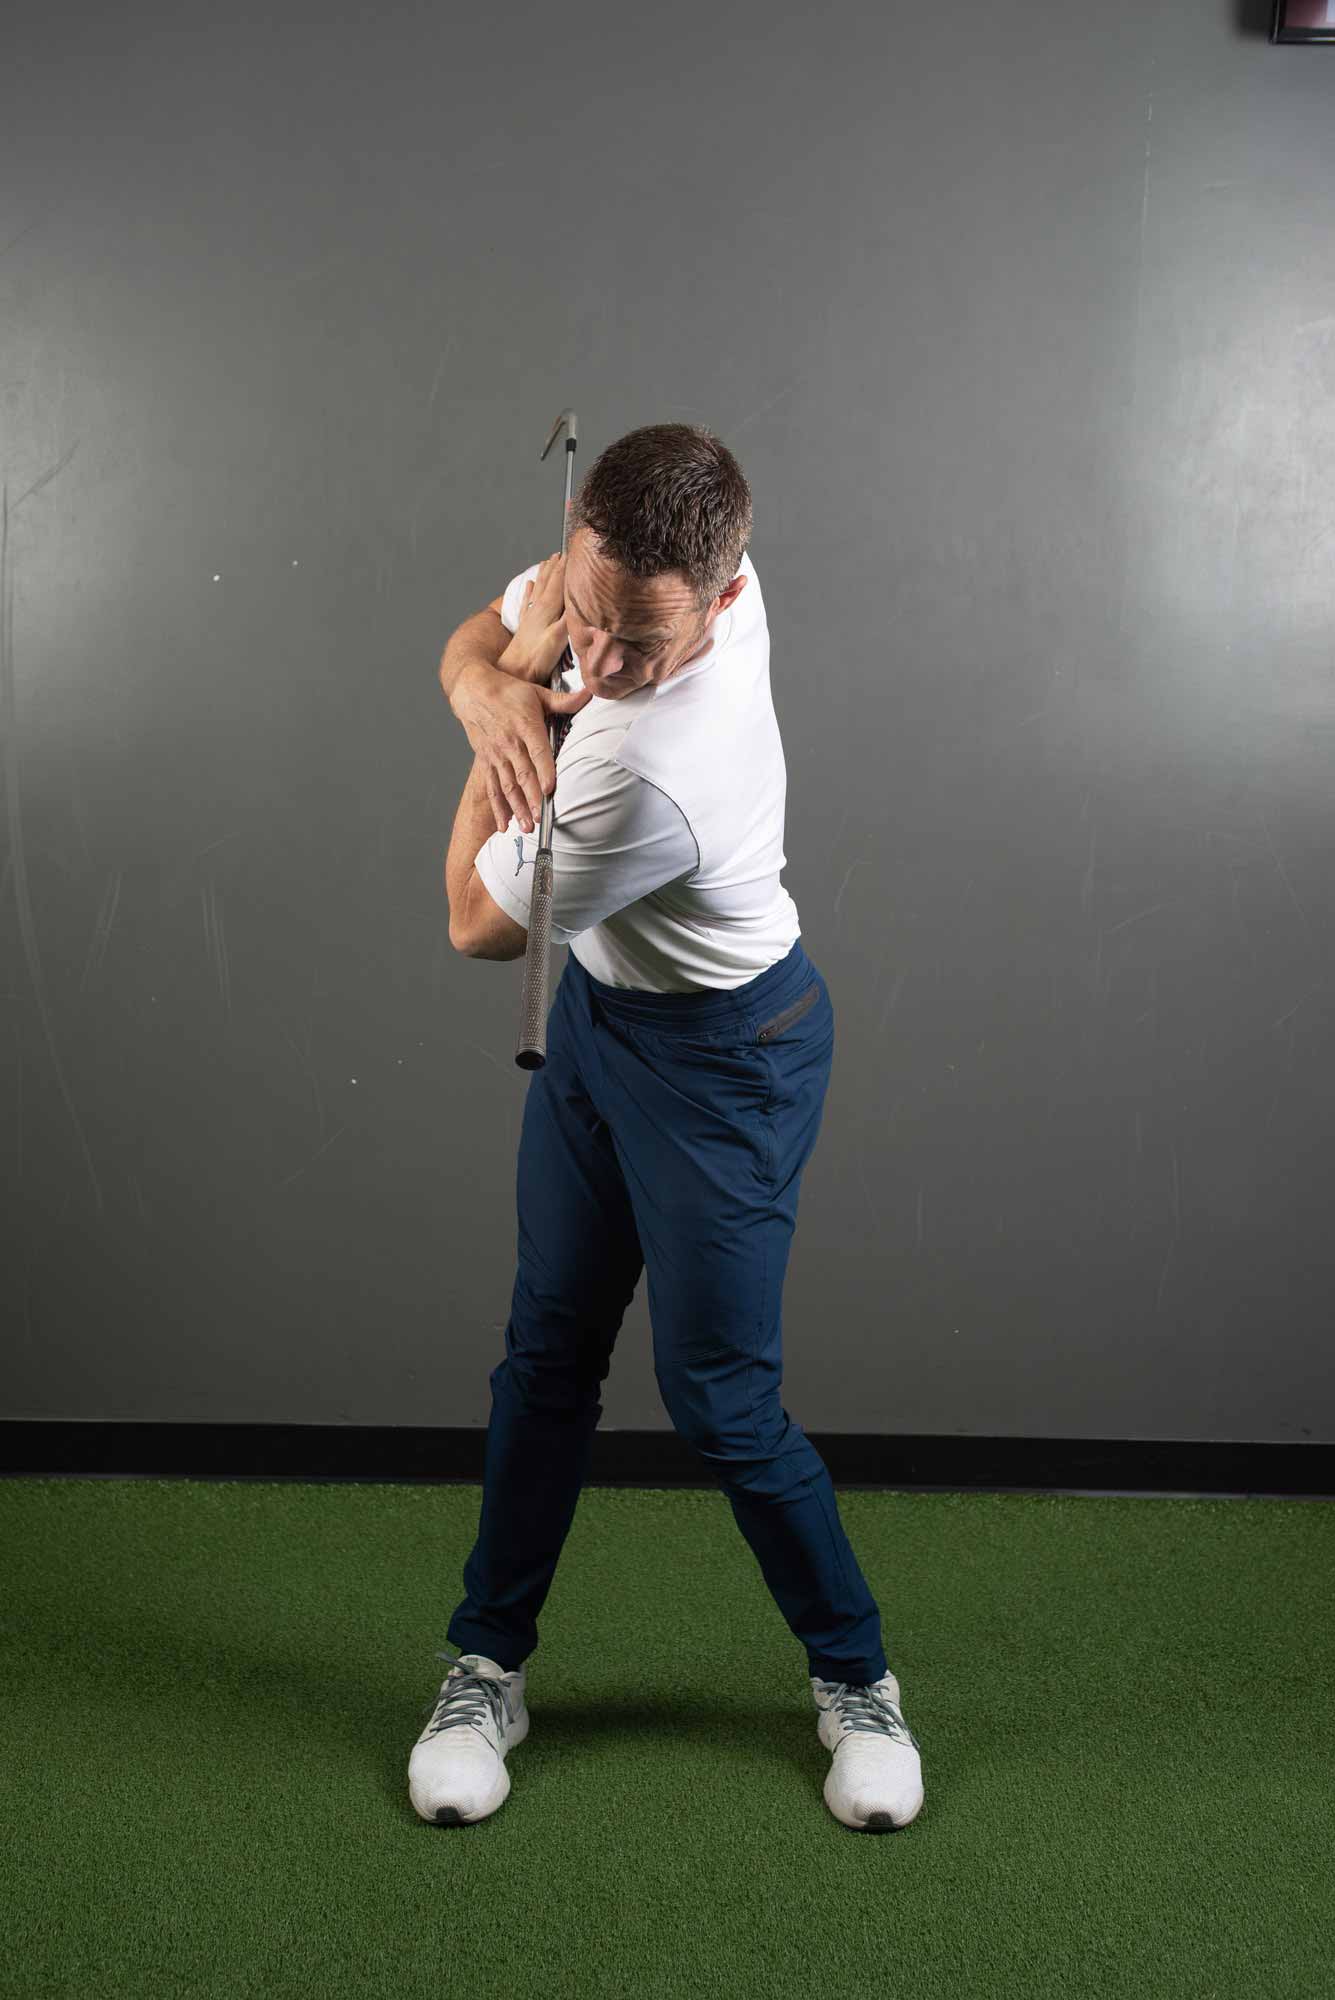
BACKSWING BODY SEQUENCE
When the above sequence happens correctly, you will not have moved much from your original posture position up, down or laterally. At the top of your backswing, your sternum should be pointing 90 degrees from your address position, your hips to 45 degrees and your left knee to about 20 degrees.
If any of those three are limited, your brain will find a way for your club to get to the top in the form of swing faults. Being able to move with these biomechanical markers will set up better consistency, improve your rotational move in the downswing, reduce or eliminate back pain and improve your all- around game.
4. THEIR JOB IS TO PERFORM; YOURS IS TO PLAY.
If your golf obsession has only resulted in a disappointing lack of improvement, take the approach of so many other amateur athletes: Find balance. Most amateur golfers struggle to improve because they spend too much time on the range and not enough time working with the thing that swings the club—the body.
When your body doesn’t move well, swing faults arise and prevent progress in your golf game. For example, let’s say you’ve had a left hip or knee replacement. If you are too hesitant to load that side from transition to impact and follow through because you think it might hurt, swing faults such as swaying, hanging back, coming over the top, casting, scooping and loss of posture can result.
Imagine being able to maximize your new joint’s ability to move and reduce or eliminate those faults. I’ve done this with amateur and Tour
players since 2000, and never tire of the joy they experience when they discover they can improve despite their injury.
So, in the end, like with most things in life, create balance in your game. Get fit for clubs,
meet with an instructor to help guide you through your learning process and definitely spend time in the gym making your body capable of moving the best it can. Your brain and body will reward you with more fun while playing the game!
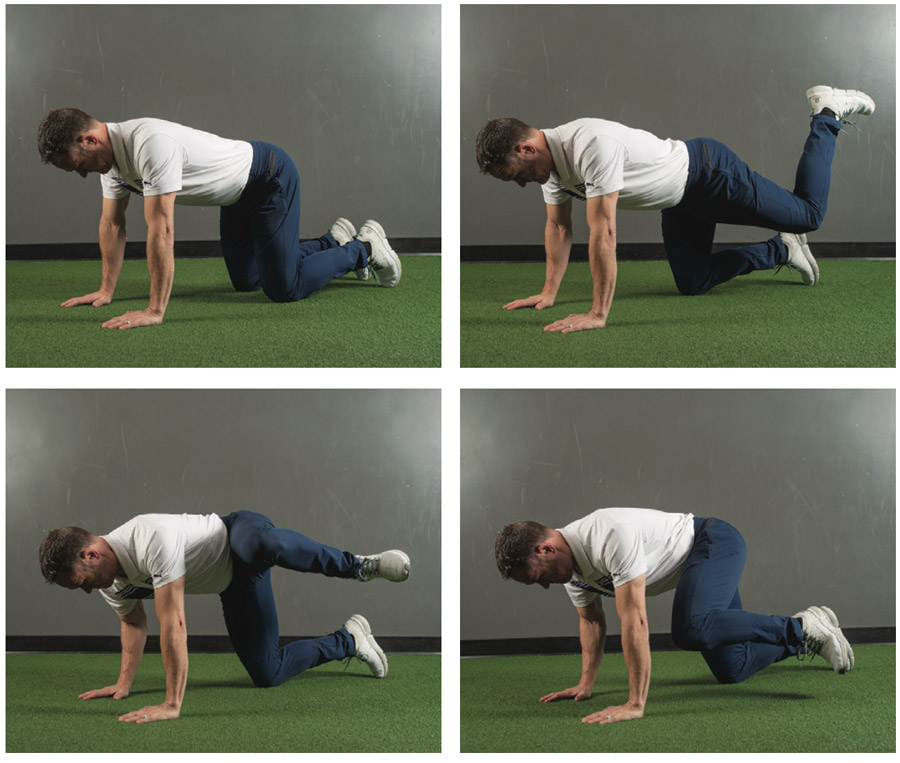
HIPS CIRCLES
(1-3 sets of 6-10 reps both forward and backward)
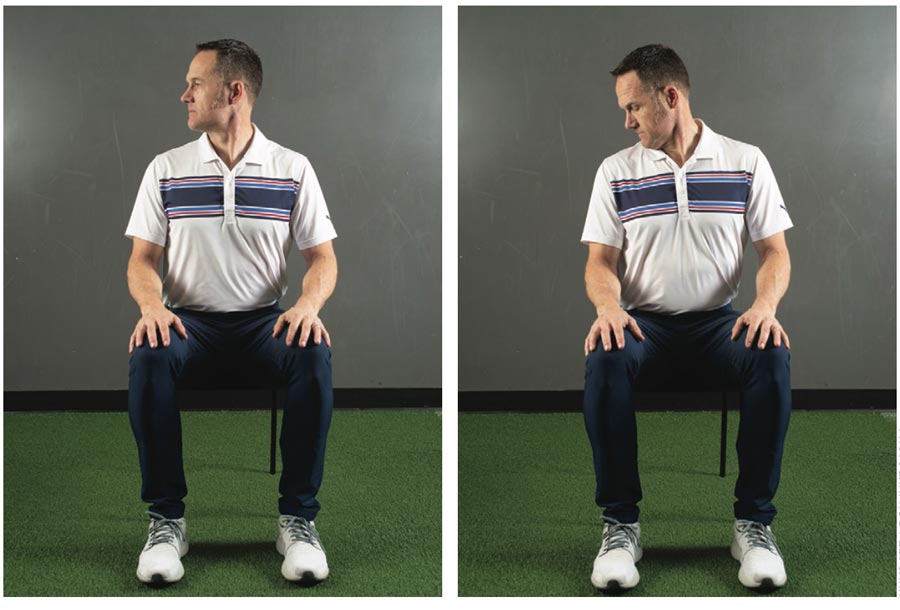
NECK ROTATION WITH FLEXION
(1-2 sets of 2-3 reps each side)
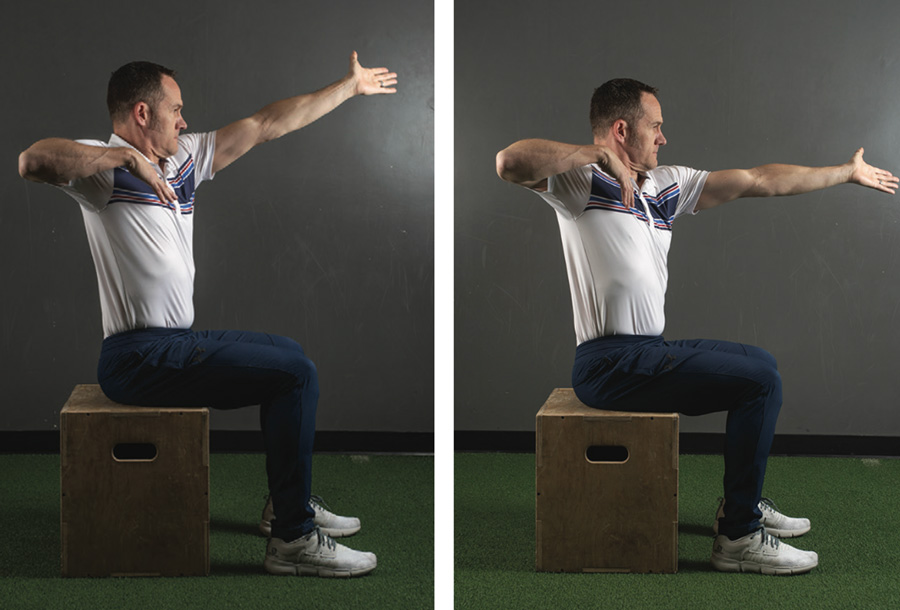
THORAX/SHOULDER SEATED ROTATIONS
(1-3 sets of 6 reps each move, each side)
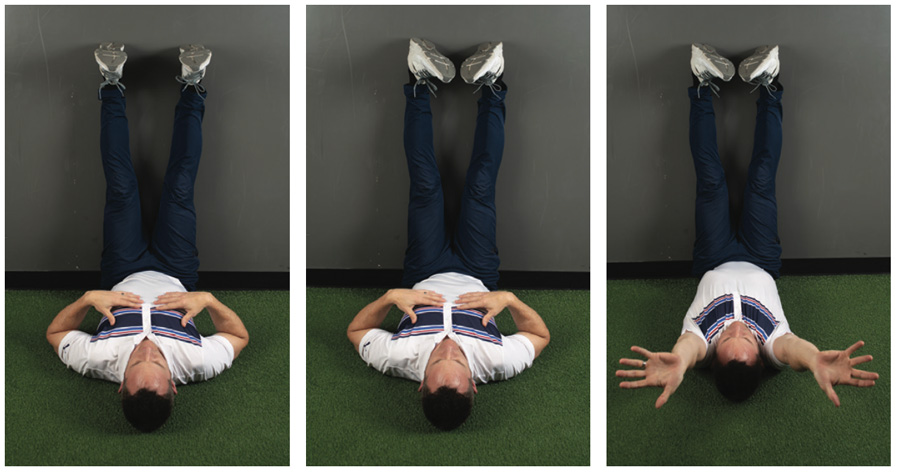
ELDOA LOWER BACK SPINAL DECOMPRESSION
Dee Tidwell owns Colorado Golf Fitness Club in the Tech Center and has twice been named a Golf Digest Top 50 Golf Fitness Instructor. He is a TPI (Titleist Performance Institute) professional, ELDOA Trainer and has coached two PGA Tour winners and countless amateur, high school and college golfers. coloradogolffitnessclub.com; 303-883-0435
This article was also featured in the June Issue of Colorado AvidGolfer.
Colorado AvidGolfer is the state’s leading resource for golf and the lifestyle that surrounds it, publishing eight issues annually and proudly delivering daily content via coloradoavidgolfer.com.