Multitasker
Titleist’s new mini driver will give you some options at the longer end of the bag
There are a lot of frustrations in golf. Three putting a green and slicing your ball into the water- to name a couple. In 15 years and 20,000+ lessons, I’ve taught the king of all frustrations that seems to discourage golfers more than anything else and that’s when they can’t make basic contact to move the ball around the course. It’s a humbling moment when the divot goes farther than the ball. Here are three tips to help you:
At a basic level, it must be understood that the ball should be struck before the ground. Most golfers probably are aware of this but aren’t quite sure how to go about accomplishing it. The way you’ll do this throughout the entire swing is to ensure you keep your low point forward.
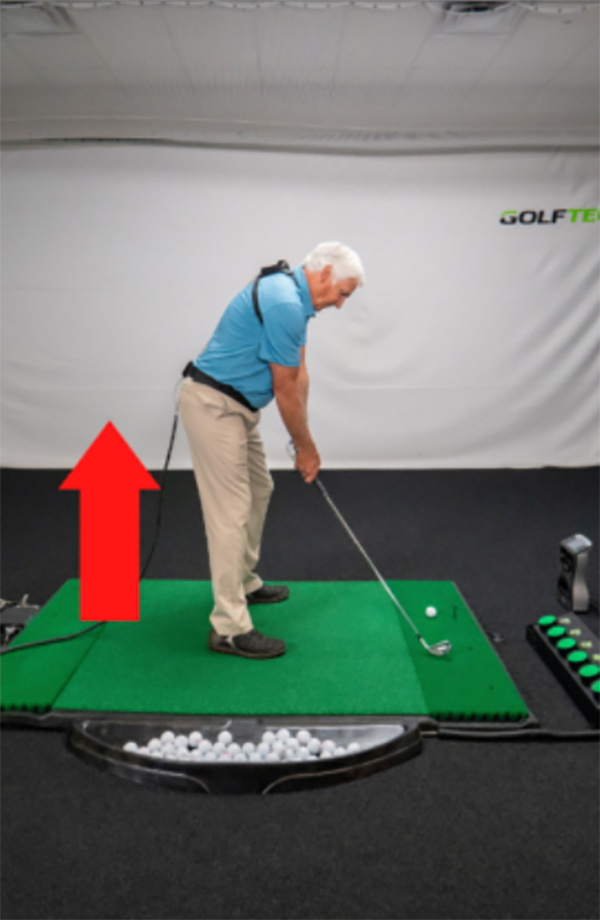
The first thing you want to do is set up with your weight towards the target. You can accomplish this by taking a setup that is a 50/50 weight distribution. From there, shift that ratio to be more on your lead leg. For a right-handed golfer, your left leg. It doesn’t have to be an exact 60/40 as long as there’s more weight on the target side than the trail. This will promote keeping the low point forward and making it easier to strike the ground after the ball.
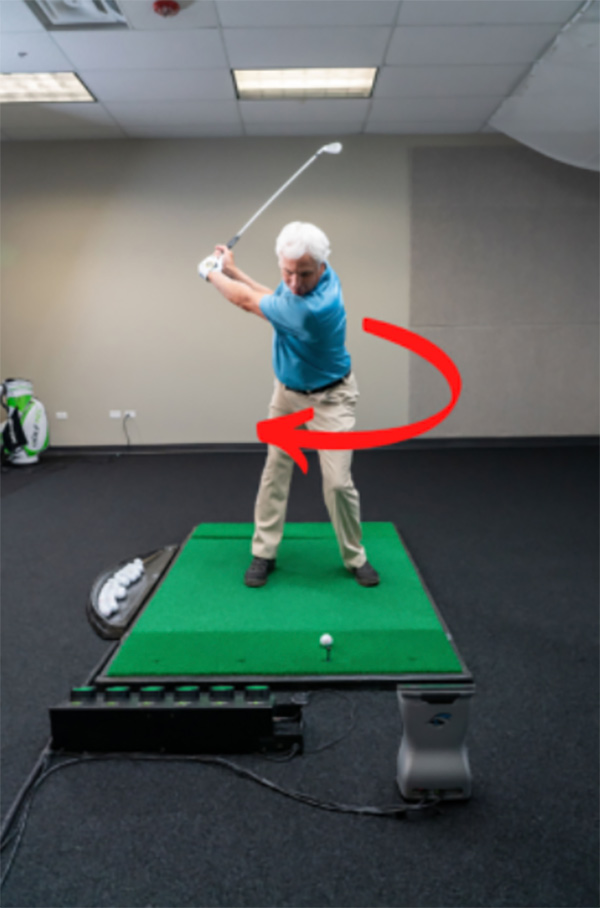
The next thing you’ll want to do is make a full and centered turn. When the contact goes wrong, I usually see a golfer make a “turn” in their backswing that resembles them lifting their arms but not actually making any shoulder rotation. The problem here is when using your arms to make a “turn” the upper body (think from the belt line and up) moves away from the target. This makes it much easier in the downswing to strike the ground before the ball- which is the opposite of what you want.
The best golfers in the world move their upper bodies over their lowers bodies in their backswing to make a center turn. A good visual for this would be to grab a camera and try to see your trail shoulder blade move towards the target (right shoulder blade for a right-handed golfer). This will ensure you’ve made a full turn (this also helps distance!) to promote keeping the low point forward that you’ve already set up at the address.
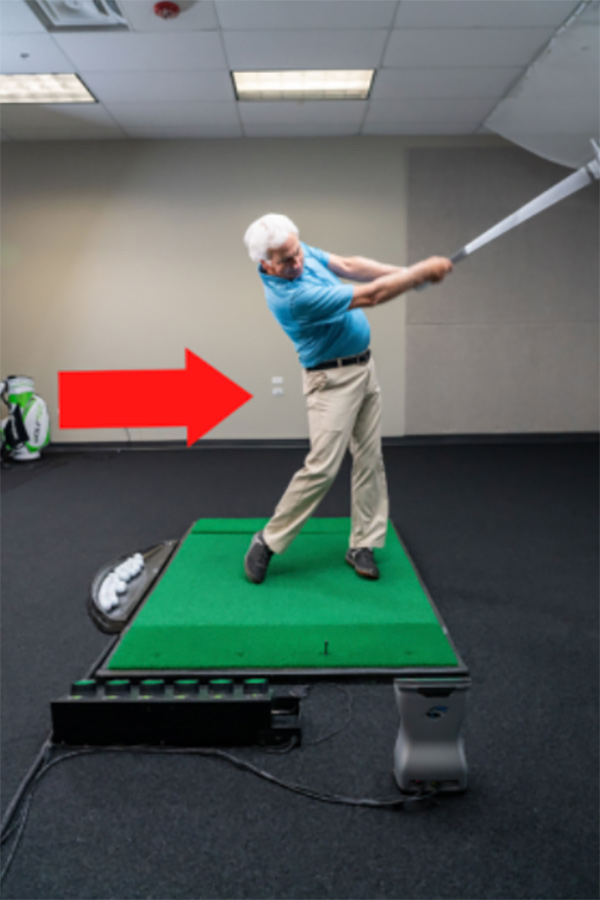
Lastly, to keep your low point forward, you’ll want to push your hips to the target all the way to the finish. A great visual here is to imagine a glass wall straight up to the sky off of your lead foot (left foot for right-handed golfers). Your goal at impact is to break the glass wall with your hips, not shoulders through impact. If you’re doing that, you’ll be positioning your hips towards the target enough to hit the ground after the ball and also keep your angle of attack shallow enough by not breaking the glass wall with your shoulders.
A great drill for this is can be found in a doorway. Go stand in the doorway with your lead foot about 6” away from the doorframe. Without a club, bump your hip into the doorway but keep your upper body away from it. This will give you the sensation of moving your low point forward without sliding your upper body too far forward, which could cause contact issues.
Go and try out these three simple tips and watch your contact improve! And if you still need help with this or any part of your game, find a GOLFTEC Coach near you.
Want to read more instruction articles like this one? Visit our INSTRUCTION PAGE.
Colorado AvidGolfer Magazine is the state’s leading resource for golf and the lifestyle that surrounds it, publishing eight issues annually and proudly delivering daily content via coloradoavidgolfer.com.